Sunday, December 24, 2017

Adobe Flash Player

vào trang https://get.adobe.com/flashplayer/ để tải file rpm
chạy lệnh:
$ sudo yum install -y flash-player-npapi-28.0.0.126-release.x86_64.rpm
----------
Bộ 4 trình duyệt hiện đại (IE của Microsoft, Safari của Apple, Chrome của Google, Firefox của cộng đồng nguồn mở) đều không cần sử dụng flash player mà vẫn có thể xem video và audio
--------
Opera browser 


  1. Launch Opera.


  2. In the address field, type opera://settings.
    Open the Opera settings

  3. On the settings page, type Flash in the search field.
    enable-flash-opera-step-3

  4. Click Manage Exceptions button.
    enable-flash-opera-step-4

  5. On the Flash exceptions screen, enter the website domain and then select Allow. When finished adding
    sites, click Done.
    enable-flash-opera-step-5

  6. Refresh the browser tab, or restart the browser.
------------ 
Chromium


hiện giờ chromium đã không còn support flash player nữa(bây giờ cũng không còn plugin nào cho chromium nữa, cũng ko vào đuợc about://plugin hay chrome://plugin nữa)

tuy nhiên có thể tham khảo ở bài viết cài chromium trong blog này

CentOS 7: Install Opera for Web Browser

Table of Contents

1 Install opera

Install opera package.
$ URL=http://download3.operacdn.com/pub/opera/desktop/47.0.2631.39/linux
$ sudo yum install -y ${URL}/opera-stable_47.0.2631.39_amd64.rpm
If you need Flash, run the following command.
$ URL=http://linuxdownload.adobe.com/adobe-release/adobe-release-x86_64-1.0-1.noarch.rpm
$ sudo yum install -y ${URL}
$ sudo yum install -y flash-player-ppapi

2 Run opera

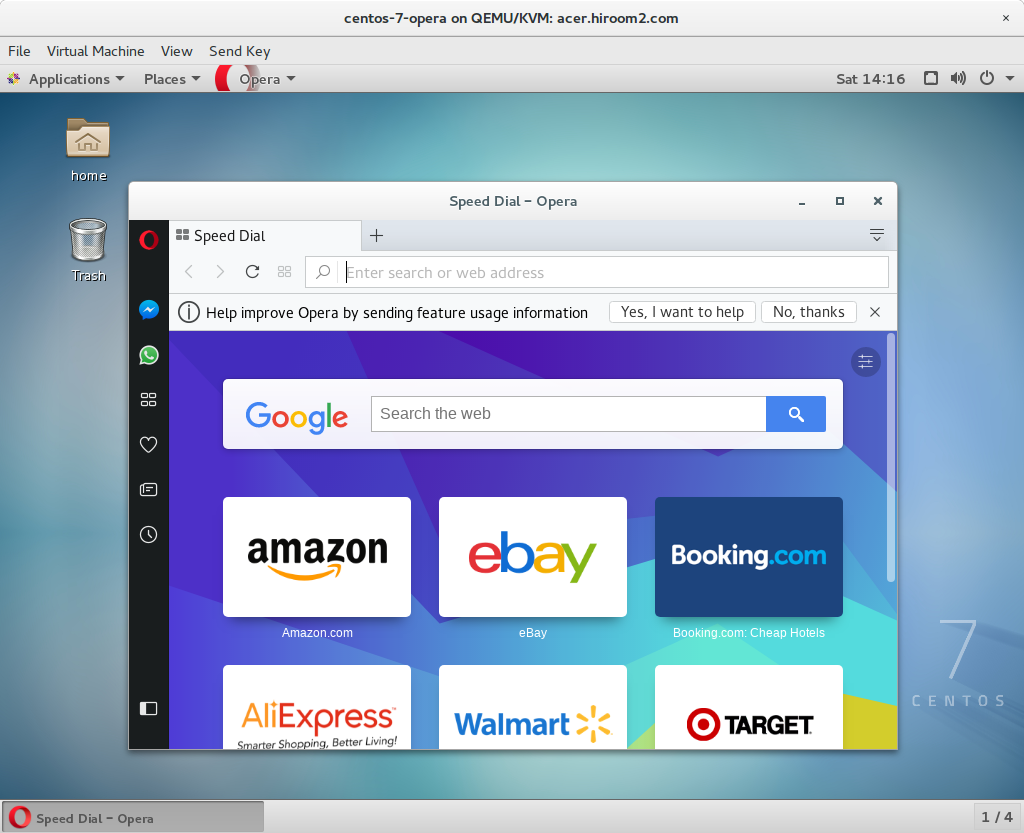
Run opera.
$ opera
0001_Opera.png

CentOS 7: Install Chromium for Web Browser

1 Install chromium

Install chromium package.
$ sudo yum install -y epel-release
$ sudo yum install -y chromium
If you need Flash, run the following command.
$ URL=http://linuxdownload.adobe.com/adobe-release/adobe-release-x86_64-1.0-1.noarch.rpm
$ sudo yum install -y ${URL}
$ sudo yum install -y flash-player-ppapi
$ for f in /usr/lib64/flash-plugin/*; do
  sudo ln -s "${f}" /usr/lib64/chromium-browser/PepperFlash/
done

2 Run chromium

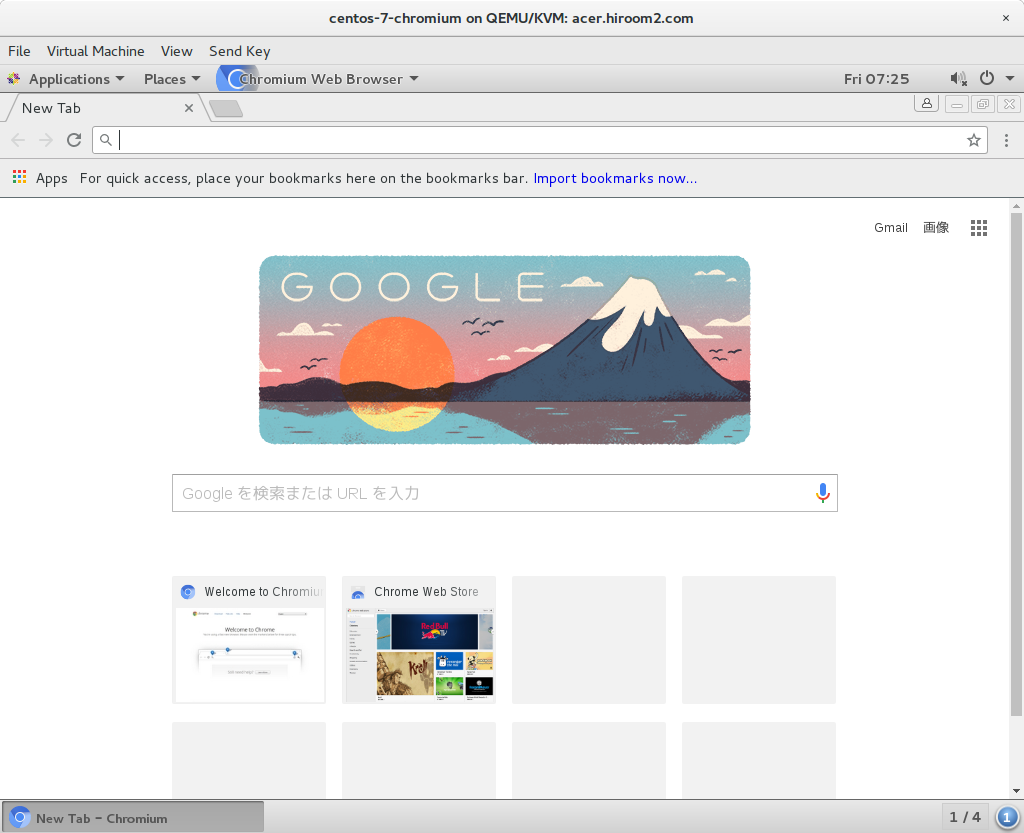
Run chromium.
$ chromium
0001_Chromium.png

Change RunLevel

[1]

RunLevel is set with linking to /etc/systemd/system/default.target. For example, the default setting without GUI is like follows.
# show current setting

[root@dlp ~]#
systemctl get-default

multi-user.target
[root@dlp ~]#
ll /etc/systemd/system/default.target

lrwxrwxrwx. 1 root root 37 Jul 9 06:04 /etc/systemd/system/default.target -> /lib/systemd/system/multi-user.target
[2] For example, if you'd like to change the RunLevel to Graphical-login, set like follows.
[root@dlp ~]#
systemctl set-default graphical.target

rm '/etc/systemd/system/default.target'
ln -s '/usr/lib/systemd/system/graphical.target' '/etc/systemd/system/default.target'
# make sute the setting

[root@dlp ~]#
systemctl get-default

graphical.target
[root@dlp ~]#
ll /etc/systemd/system/default.target

lrwxrwxrwx 1 root root 36 Jul 9 21:55 /etc/systemd/system/default.target -> /lib/systemd/system/graphical.target

How to Mount and Unmount an ISO Image in RHEL/CentOS/Fedora and Ubuntu

An ISO image or .iso (International Organization for Standardization) file is an archive file that contains a disk image called ISO 9660 file system format. Every ISO file have .ISO extension has defined format name taken from the ISO 9660 file system and specially used with CD/DVD Rom’s. In simple words an iso file is a disk image.
How to mount iso image in linux
mount and unmount iso images in linux
I have seen most of the Linux operating system that we download from the internet are .ISO format. Typically an ISO image contains installation of software’s such as, operating system installation, games installation or any other applications. Sometimes it happens that we need to access files and view content from these ISO images, but without wasting disk space and time in burning them on to CD/DVD.
This article describes how to mount and unmount an ISO image on a Linux Operating system to access and list the content of files.

How to Mount an ISO Image

To mounting an ISO image on Linux (RedHat, CentOS, Fedora or Ubuntu), you must be logged in as “root” user or switch to “sudo” and run the following commands from a terminal to create a mount point.
# mkdir /mnt/iso
OR
$ sudo mkdir /mnt/iso
Once you created mount point, use the “mount” command to mount an iso file called “Fedora-18-i386-DVD.iso“.
# mount -t iso9660 -o loop /home/tecmint/Fedora-18-i386-DVD.iso /mnt/iso/
OR
$ sudo mount -t iso9660 -o loop /home/tecmint/Fedora-18-i386-DVD.iso /mnt/iso/
After the ISO image mounted successfully, go the mounted directory at /mnt/iso and list the content of an ISO image. It will only mount in read-only mode, so none of the files can be modified.
# cd /mnt/iso
# ls -l
You will see the list of files of an ISO image, that we have mounted in the above command. For example, the directory listing of an Fedora-18-i386-DVD.iso image would look like this.
total 16
drwxrwsr-x  3 root 101737 2048 Jan 10 01:00 images
drwxrwsr-x  2 root 101737 2048 Jan 10 01:00 isolinux
drwxrwsr-x  2 root 101737 2048 Jan 10 01:00 LiveOS
drwxrwsr-x 28 root 101737 4096 Jan 10 00:38 Packages
drwxrwsr-x  2 root 101737 4096 Jan 10 00:43 repodata
-r--r--r--  1 root root   1538 Jan 10 01:00 TRANS.TBL

How to Unmount an ISO Image

Simply run the following command from the terminal either “root” or “sudo” to unmount an mounted ISO image.
# umount /mnt/iso
OR
$ sudo umount /mnt/iso
Where Options
  1. -t : This argument is used to indicate the given filesystem type.
  2. ISO 9660 : It describes standard and default filesystem structure to be used on CD/DVD ROMs.
  3. -o : Options are necessary with a -o argument followed by a separated comma string of options.
  4. loop: The loop device is a pseudo-device that often used for mounting CD/DVD ISO image and makes those files accessible as a block device.

Saturday, December 23, 2017

FDISK command: How To Fix A Broken USB Drive Using Linux

Introduction

Sometimes when people create a Linux USB drive they find that the drive seems to become unusable.
This guide will show you how to format the USB drive again using Linux so that you can copy files to it and use it as you ordinarily would.
After you have followed this guide your USB drive will be usable on any system capable of reading a FAT32 partition.
Anybody familiar with Windows will notice that the fdisk tool used within Linux is much like the diskpart tool.

Delete The Partitions Using FDisk

Open a terminal window and type the following command:
sudo fdisk -l
This will tell you which drives are available and it also gives you details of the partitions on the drives.
In Windows a drive is distinguished by its drive letter or in the case of the diskpart tool each drive has a number.
In Linux a drive is a device and a device is handled much like any other file. Therefore the drives are named /dev/sda, /dev/sdb, /dev/sdc and so on.
Look for the drive which has the same capacity as your USB drive. For example on an 8 gigabyte drive it will be reported as 7.5 gigabytes.
When you have the correct drive type the following command:
sudo fdisk /dev/sdX
Replace the X with the correct drive letter.
This will open a new prompt called "Command". The "m" key is very helpful with this tool but basically you need to know 2 of the commands.
The first is delete.
Enter "d" and press the return key.
If your USB drive has more than one partition it will ask you to enter a number for the partition you wish to delete. If your drive only has one partition then it will be marked for deletion.
If you have multiple partitions keep entering "d" and then enter partition 1 until there are no partitions left to be marked for deletion.
The next step is to write the changes to the drive.
Enter "w" and press return.
You now have a USB drive with no partitions. At this stage it is completely unusable.

Create A New Partition

Within the terminal window open fdisk again as you did before by specifying the name of the USB device file:
sudo fdisk /dev/sdX
As before replace the X with the correct drive letter.
Enter "N" to create a new partition.
You will be asked to choose between creating a primary or extended partition. Choose "p".
The next step is to choose a partition number. You only need to create 1 partition so enter 1 and press return.
Finally you need to choose the start and end sector numbers. To use the whole drive press return twice to keep the default options.
Enter "w" and press return.

Refresh The Partition Table

A message may appear stating that the kernel is still using the old partition table.
Simply enter the following into the terminal window:
sudo partprobe
The partprobe tool simply informs the kernel or partition table changes. This saves you having to reboot your computer.
There are a couple of switches you can use with it.
sudo partprobe -d
The minus d switch lets you try it without it updating the kernel. The d stands for dry run.
This is not overly useful.
sudo partprobe -s
This provides a summary of the partition table with output similar to the following:
/dev/sda: gpt partitions 1 2 3 4
/dev/sdb: msdos partitions 1 

Create A FAT Filesystem

The final step is to create the FAT filesystem.
Enter the following command into the terminal window:
sudo mkfs.vfat -F 32 /dev/sdX1
Replace the X with the letter for your USB drive.

Mount The Drive

To mount the drive run the following commands:
sudo mkdir /mnt/sdX1
sudo mount /dev/sdX1 /mnt/sdX1
As before replace the X with the correct drive letter.

Summary

You should now be able to use the USB drive on any computer and copy files to and from the drive as normal.

Sunday, December 17, 2017

Screen capture, screenshot, snapshot in centos


with gnome:

gnome-screenshot

or


gnome-snapshot


How to use?

press PrintScreen button to shot whole screen

press shift + PrintScreen to shot a selected area